

Remember my friend Beth who I went to Chicago with? She's the same one who came to help us paint the ceilings. We became fast friends in college over our love for polka dots and Jesus (not necessarily in that order). And since Michael and I have moved back home, Beth and I have had to make staying close friends a priority. I think we have done a bang up job for two girls who may, at times, be a little less than stellar at returning phone calls or emails. :-) But one advantage to loving this girl is that I know her. I know how she feels loved and valued...or at least I'd like to think I do.

Have you heard of The 5 Love Languages by Gary Chapman? It is a super helpful way to understand yourself and your loved ones. It basically helps to pinpoint ways people feel the most loved and ways they show love. The 5 Love Languages are: Words of Affirmation, Acts of Service, Receiving Gifts, Quality Time, and Physical Touch. (If you are interested in discovering your own love language here is the link for the quiz - FYI, mine is Quality Time) And my friend Beth? Well receiving gifts communicates love to her in a way that none of the other things do. And knowing that really helps me to be a better friend toward her! But it makes it challenging too.
I'll be honest, I've never been that great at giving gifts. I have, what I call, gift insecurity. You may have experienced it before too. You want so badly to find the perfect gift to show someone that you care about them - for it to be meaningful and useful to them. But that desire also leads you to questioning yourself every step of the way as to whether they will like it or use it or if they will *gasp* end up re-gifting it or garage sale-ing it!
On occasion, however, I do think of a knock-out-punch kind of a gift. One that gets you excited and ready to give it the moment you think of it!
No, I did not get her a puppy. But she did get one recently!
I'll be honest, I've never been that great at giving gifts. I have, what I call, gift insecurity. You may have experienced it before too. You want so badly to find the perfect gift to show someone that you care about them - for it to be meaningful and useful to them. But that desire also leads you to questioning yourself every step of the way as to whether they will like it or use it or if they will *gasp* end up re-gifting it or garage sale-ing it!
On occasion, however, I do think of a knock-out-punch kind of a gift. One that gets you excited and ready to give it the moment you think of it!
 |
| Courtesy of Beth Wilson Photography |
No, I did not get her a puppy. But she did get one recently!
That face. oh my! It just melts my heart. Her name is Lily and she's a bernadoodle and I want to steal her. But I'm a better friend than that, so I settled on the idea of giving Beth's little Lily a gift to welcome her into the family. I knew Beth would get the biggest kick out of it!
I had looked at a doggy boutique downtown but did not find anything that would ship easily or that caught my eye. I love etsy, for its handmade goods and unique finds but was not finding anything that I could ship that would be under my budget. Then I thought... well why don't I make something! So off to google I went and found a DIY dog toy tutorial (click for the original tutorial).
It was super easy ya'll. If you have a sewing machine and can sew a straight stich, you can do this.
I am one of those said people! So off I went!

And guess what? Its basically free! It was for me since I had the fabric just laying around.
I am one of those said people! So off I went!
And guess what? Its basically free! It was for me since I had the fabric just laying around.
Michael's boss's wife is an interior designer and has a bunch of
old upholstery and fabric samples that she gets rid of when things get discontinued.
And Michael, being so very thoughtful, brings them home to me! I have a
box full of them just waiting for my creaitivity to strike. So when I
decided to make a doggy toy, I knew exactly what I was going to use.
Here was my step by step process:
Here was my step by step process:
1. Choose your Fabric:
The nice thing about these is that they are heavier duty fabric and they come in coordinating color schemes. I picked out four different possibilities.
I went with #4 because of its size - there would be little waste,
and because of its color - I liked the sophisticated warm earthy tones that I knew would fall in line with Beth's home decor.
2. Prep the Fabric:
Once I picked out my fabric I seam ripped the label off and cut it down to size. The fabric ended up being 12in by 8in.


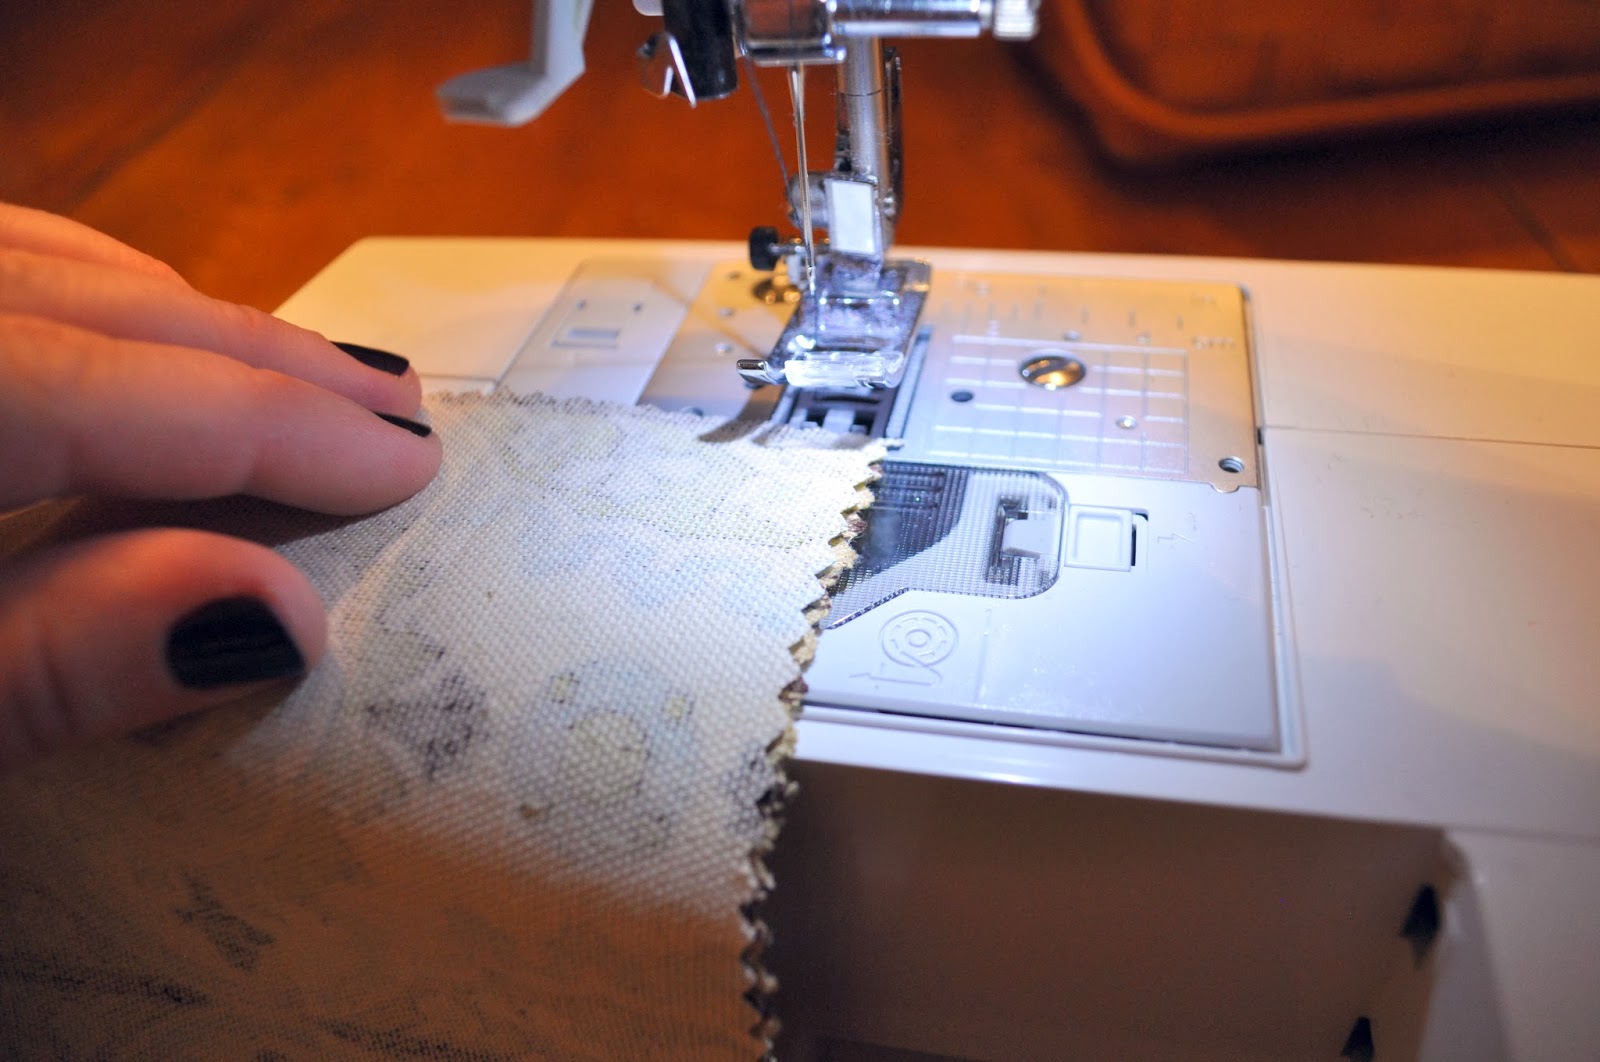
3. Sew each of the long sides of the scraps together:

I placed the faces toward each other and sewed a straight stitch along one side.

Then I
moved on down the line until all the scraps were stitched together to
make a long line.
4. Iron:
I ironed the seams I just sewed to make them lay flat.

folded it over again
so that I can sew it to make a hem.

5. Sew the Hems:

6. Fold the Fabric Hot Dog Style:
fold it so that the face of the fabric is folded in.
7. Sew the Open Long Edge:


8. Turn the Tube Right Side Out:
I reached my arm through, grabbed the opposite end, and pulled it through.
9. Tie a knot in one end.

10. Ball Up Some Filling and Shove it to the End of the Knot:
I used stuffing but you could use anything, other fabric scraps, a tennis ball, etc.. Just be sure to tie your knots tightly against the ball.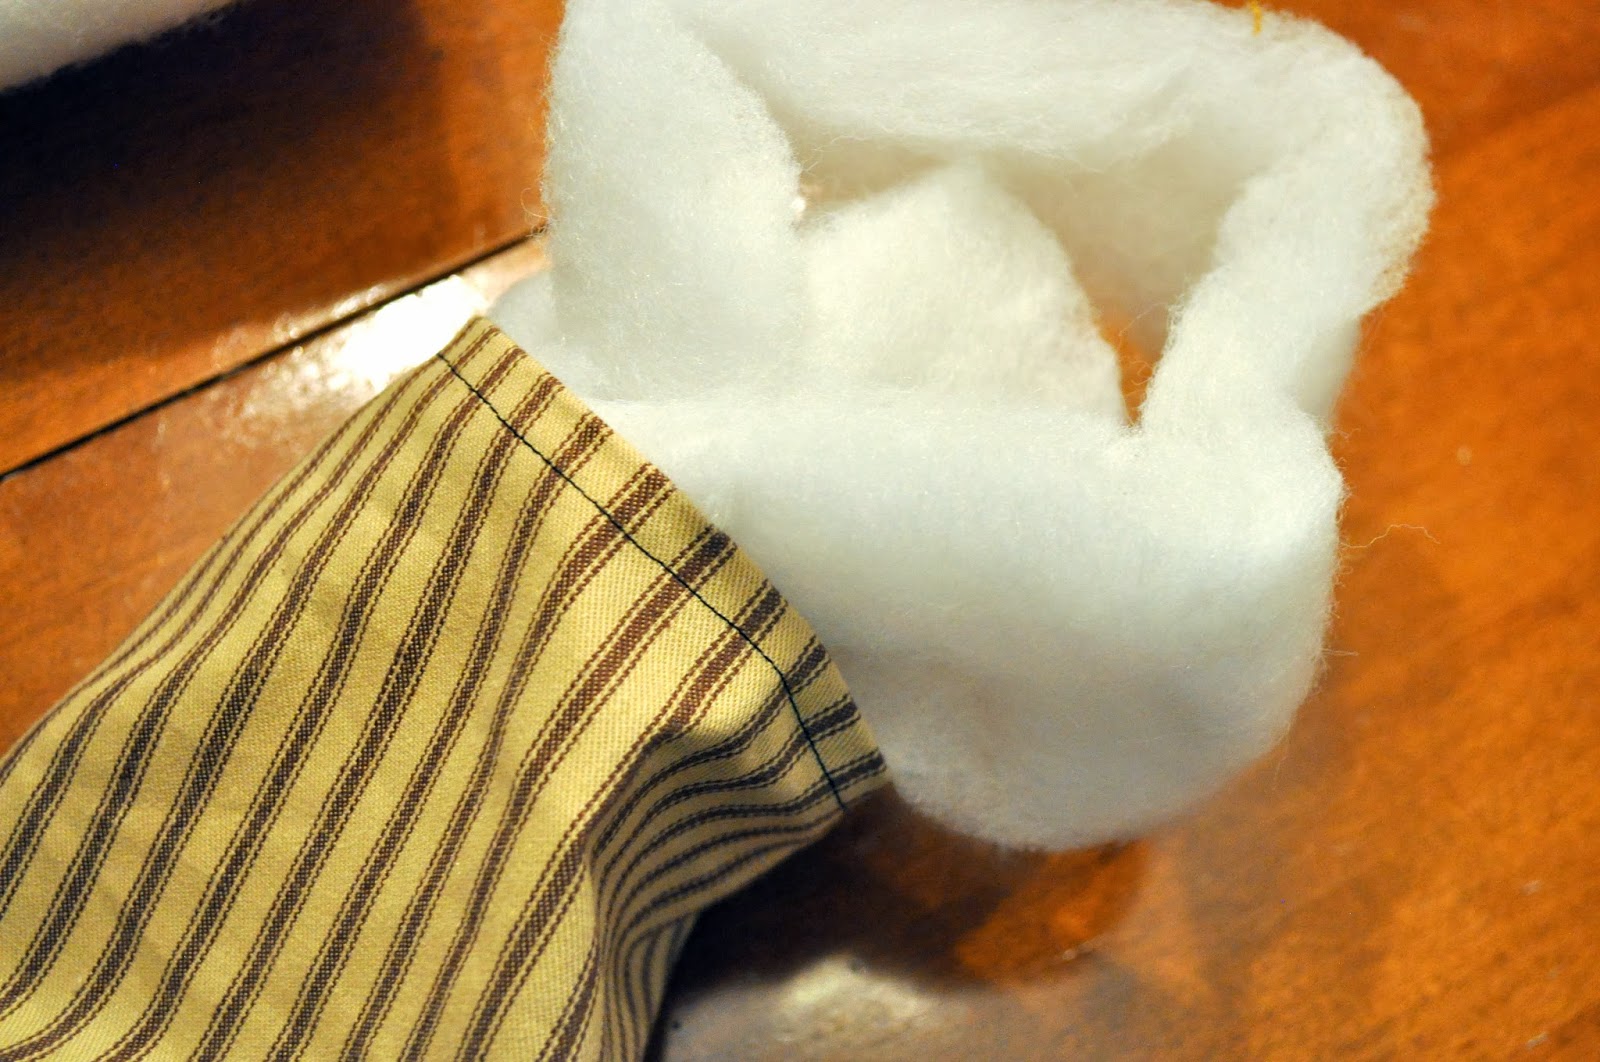
11. Tie a Knot at the End of the Ball:

12. Repeat: until you run out of fabric.
My goal was to make 3 balls in the toy but because my fabric was thicker, I had to settle with two. You kind of just have to play around with the amount of fabric at the end. I had to tie and retie things 3 times to get the right spacing.
13. Don't forget that its all about presentation!
Presentation, Presentation, Presentation!
14. Allow the Little Critter to Enjoy it!


Puppy Love
Have you been DIYing anything lately? What's your love language?
Don't miss a beat.
{Follow this blog on Bloglovin'}

Cute!
ReplyDelete